
A few weeks ago, my dad came for the weekend to help us tile the shower in the guest bathroom. He used to have his own tiling business and still had all the tools and tile saw. I was relieved when Steve accepted the help (this was no easy task!!), and I think in the end was so happy to have an expert in there for his first tiling experience. We could not have done it without him!
It took us 10 months to get prepped for tiling, but you'll see soon, all of the hard work was worth it. Steve's meticulous measuring and leveling made the tiles go up easily. The best way to avoid overcomplicating a tile job is to get everything squared up beforehand.
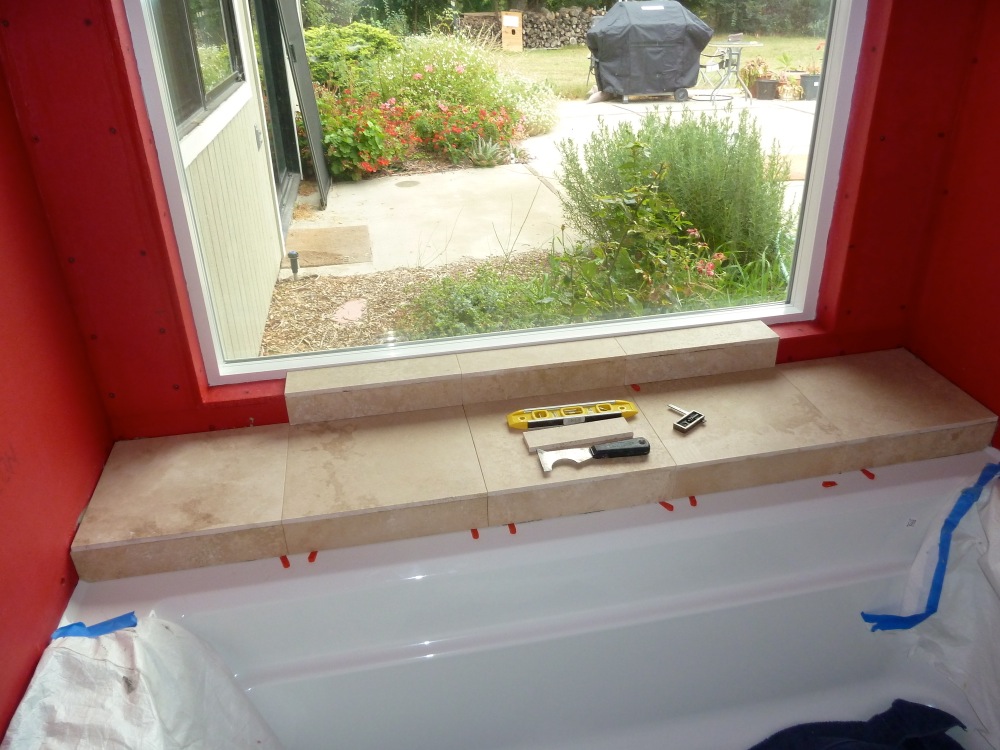
Not an hour after my dad walked through the door and we were on our way. The first step was coming up with a game plan for setting the tiles. We chose the windowsill as the starting place, but soon realized we needed to get the bench in first. Some tiles overlap the other to give a smooth edge so you have to be sure to set the right piece first to get the look you want. We must have changed the order 10 times before we were finally able to just get moving.
Steve installed all of the hardee backer.

And then tore out the left wall in order to square things up, installed new dry wall, and coated the hardee backer with waterproof sealant.

I laid out the design of the two major shower walls before beginning. This made it easy to know which piece was next. It also helped with mixing up the dark and light tiles, to achieve a more random, natural look. If you pull one by one from the tile boxes, you might get half of a wall all light pieces, and the other half dark pieces. Not good.

Dirty boot proof walkway from the tile saw to the bathroom.

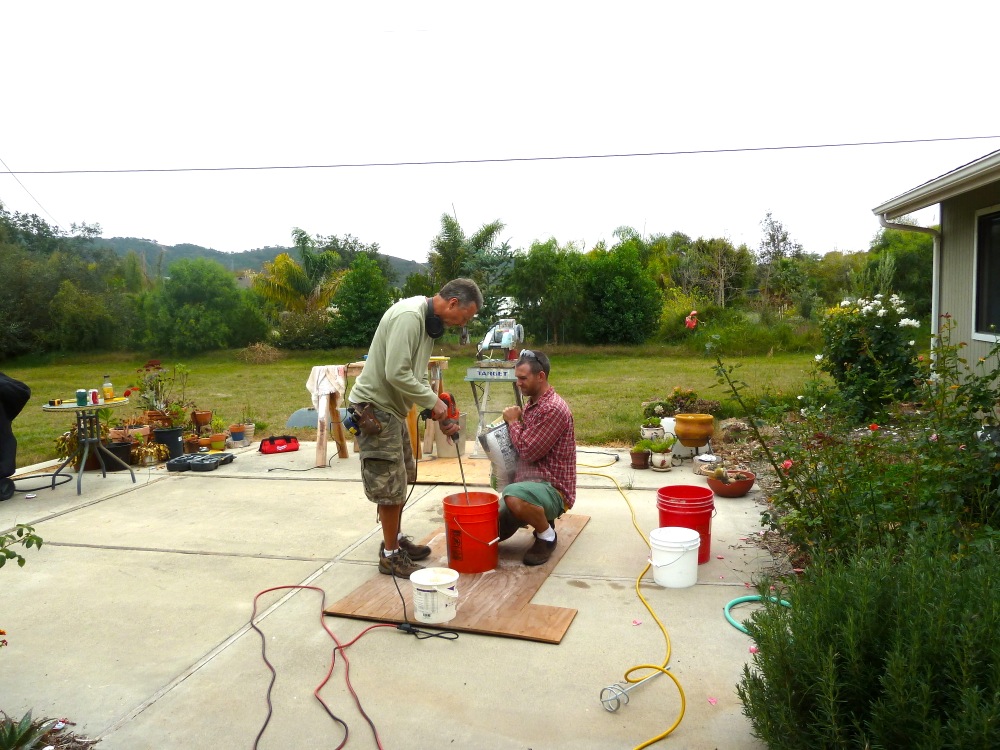
Mixing up the thin set
Our first row done! We started on a Saturday afternoon, probably around 2:00.

We set the first column next to the window, then realized we forgot to leave space for the shelves. Luckily, you do have some time with the thin set, and you can remove tiles before they stick permanently.


The diamond cuts were not easy.


Giving the shelves a nice face

And the (semi)finished product!! My dad left Monday at noon and we still had to finish some grout work, but overall only about 2 whole days worth of work! Not bad!

See what a difference it makes?! Here's a shot of our old shower.

Next up:
- Remove toilet and fix the gasket and replace the wax ring
- Remove vanity
- Texturize the new wall
- Paint entire bathroom
- Install new floor tiles (you're going to love these!)
- Finish front tiling on tub and trim pieces
- Install new vanity and sink
- Install new mirror, lighting, and other fixtures and accessories
- DONE!
It was a good weekend! Got a lot done.
ReplyDelete